No Sew Bandanna Face Mask

My previous post demonstrated a process of sewing a face mask at home with a layer of non-woven interfacing material to serve as a filter for additional protection.
Unfortunately not everyone is conscientious about wearing any type of face protection in public, as suggested by other countries who already suffered from coronavirus consequences, and our own CDC encourages the public to do so.
This extra measure not only protects you, but it also protects others from the virus you might be carrying without experiencing any symptoms at this time.
A friend shared a UTube video on how to make a quick face mask in a pinch, without any sewing, utilizing a bandanna and couple of rubber bands or hair ties. If you don’t have a bandanna, you can cut up any cotton material (shirt, skirt, pillow case, tablecloth…etc) to make your mask.
I forwarded that video link to numerous friends of mine, however today I tried to forward it to someone else and realized that the link did not work any longer.
I noticed this is a major problem with many links, as they stay in one place for only so long.
I recreated the technique from memory, hence prepared this step-by-step picture tutorial.
It is amazing how many people come up with so many ways to adjust to situations, and this reminds me of a quote a friend shared with me: “Necessity is a Mother of Invention”…so true.
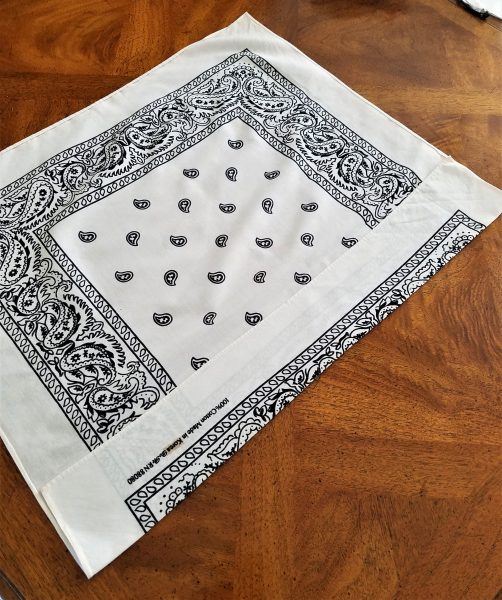
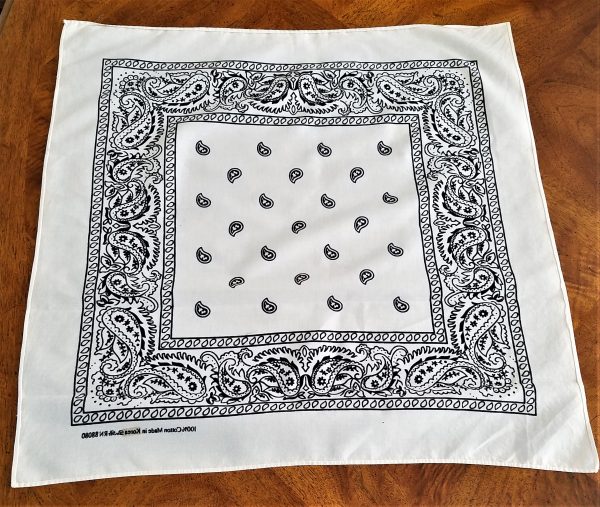 Step1: You need a regular size bandanna, or a piece of cotton material (20 inches by 21 inches…..51 cm by 53 cm).
I am not using precise conversions, but rather a close proximity for a less stressful process).

You also need 2 rubber bands, or 2 hair ties.
 Step 2: Using the longer end of the fabric (21″ or 53 cm), you fold up 3″ or 8 cm.
 Step 3: Repeat the process of folding until you reach the top of the material.
 Step 4: Flip over the folded bandanna or material, so the edge is facing up. If you are using material, I would suggest to fold under couple of inches of the raw edge of the material to prevent fraying.

Step 5: From both short ends of the folded material, measure 6″ or 15 cm, and slip your rubber bands in those places.

Step 6: At the rubber band section, fold over the edge of the folded material toward the middle. Repeat the process for the other end as well.

Step 7: Please note how the both sides overlap each other.
 Step 8: Using your fingers, gently separate the folded material to form a pocket like opening, into which you will slip in the other end of the folded material.
 Step 9: Work it in, and smooth it out flat, so one folded end is securely positioned inside the other one.
 Step 10: Gently lift the top layer of the mask, the one with the inserted ends into one another, and reach for the layer of material folded beneath it, and pull outward from both sides to extend the mask coverage for your nose and your chin.
Please note this side fits against your face.
You can also do this step after you put the mask on your face, and adjust that layer to extend towards your nose and chin.
 This is the front side of the mask, with the longer piece of material down to stretch over your chin.
I also noticed that sometimes it is difficult to keep these masks on while wearing glasses, so I came up with an easy fix for this issue by placing the elastic ear loop over the frame of my glasses.
 This picture is with my more sophisticated sewn mask, but it will work the same with any mask with elastic ear loops.
Place your glasses on the table, with the lenses away from you. Position your mask so the side which will cover your mouth faces you and the nose bride faces up just like the nose bridge of your glasses. Then slip the elastic ear loops onto your glasses fame as above. Put your glasses on, push the elastic on the glasses frame toward your ears, then grab the elastic ear look in the top back or your ear and pull it over toward the bottom of your ear. Your mask will stay in place quite firmly.
I also noticed that while wearing a mask which is not totally tight around your face (there are small gaps around), the hot air your breathing out is fogging up your glasses.
Also, I feel that these masks are providing additional protection to the general public, but I don’t feel that these type of masks are NOT suitable for use in highly contagious places like ER or ICU operated by doctors and nurses. These are more like the typical surgical masks you see at the dentist or doctor office.
To decrease the fogging problem of your glasses, there are available products on the market, but during these crises, they might not be available, and you want to stay away from public places as much as possible.
For an easy solution you can rub your lenses on both sides with a regular soap bar, then buff it up with a soft material like flannel, cotton, or your special cloth for cleaning glasses, to get them nice and clear.
If you don’t have a soap bar, you can use a drop of dish detergent on each lenses, then using your fingers you evenly spread it on both sides of the lenses, let it dry for 10-15 minutes, then buff it out as above.
I also sew a suggestion of pacing a piece of folded tissue over your nose before positioning your mask on your nose. I have not tried that yet, so am not able to totally recommend this.
If anyone has any tried and true fixes to this issue, please share in the comments section of this post. Thank you.